Soldering EL Wire
The EL wire on one of the garments from my graduation collection stopped working, so I wanted to fix this. Previously every time a wire stopped working it stopped working halfway through the wire (the phosphor coating on one of the wires probably wore down in those places because of too much bending) and in those cases I had to replace the whole wire since otherwise the fix would be very visible. This time however the wire did not work at all so it had to be a short circuit or a disconnected wire at the beginning of the wire, where it was connected to the battery pack. I am following this tutorial.
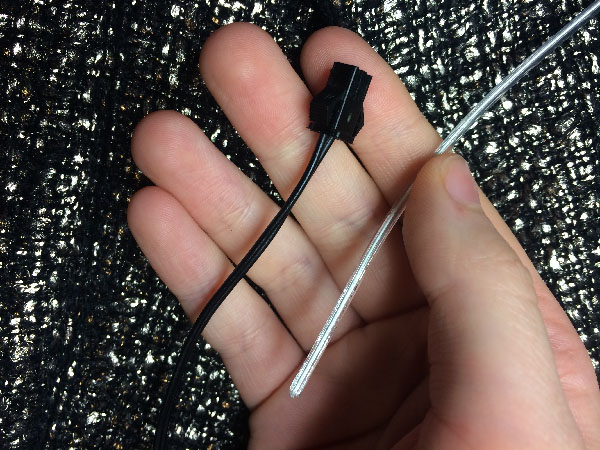
Step 1: disconnecting wire from battery pack
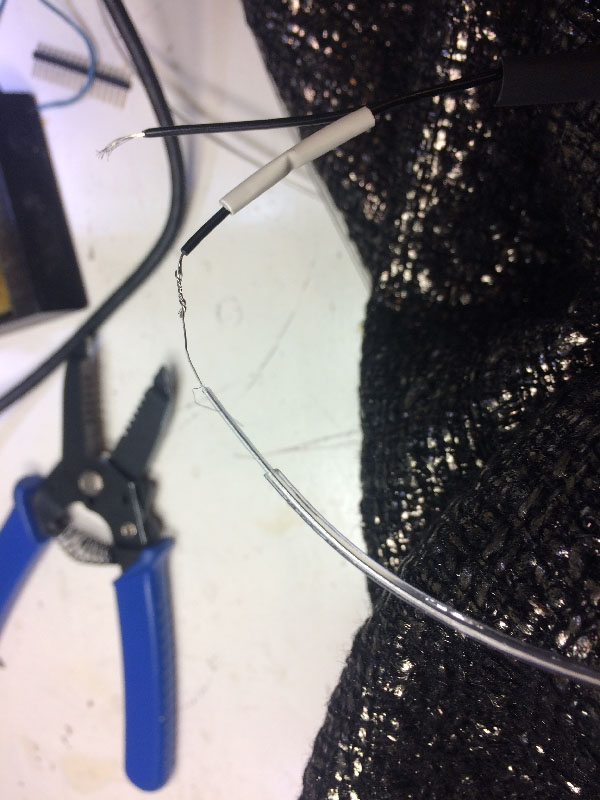
Since my EL wire was still connected to the batteries I first had to disconnect them. This was done by removing the heat-shrink tube and a bit of pulling. I noticed one of the wire was disconnected entirely so I suspect that was my issue.
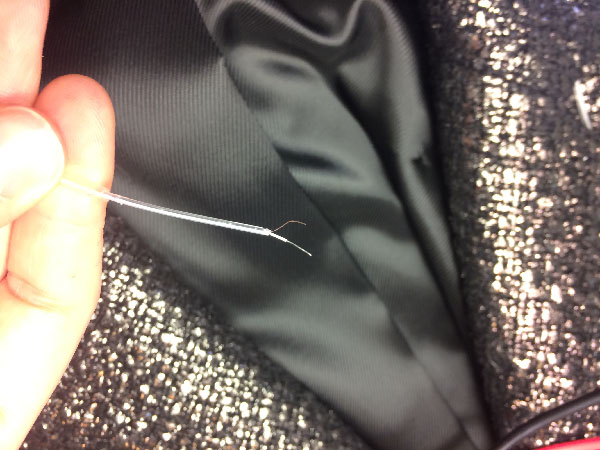
Step 2: stripping the wires
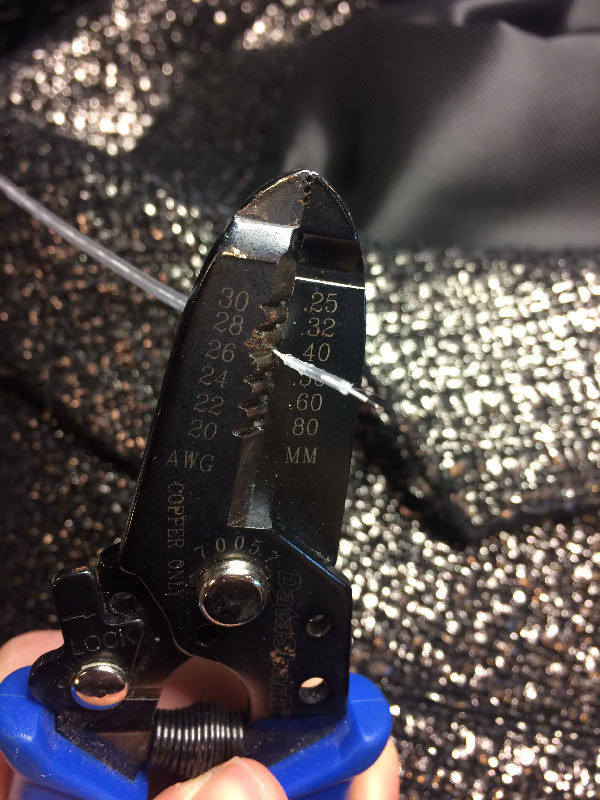
There are two angel wires inside the PVC sleeves. To expose you have to carefully strip the sleeve: first the outer colored one, then the thinner, clear one. Make sure to pick the correct wire cutter so you don’t cut through the angel wires; it took me four tries before I managed to expose both without damaging the phosphor coating on the thicker wire.
Step 3: testing wire
Before you start soldering, first test whether your wire actually works when properly connected to a battery pack. Use a plier for this (and don’t shock yourself like I did). The wire lit up so I could continue.
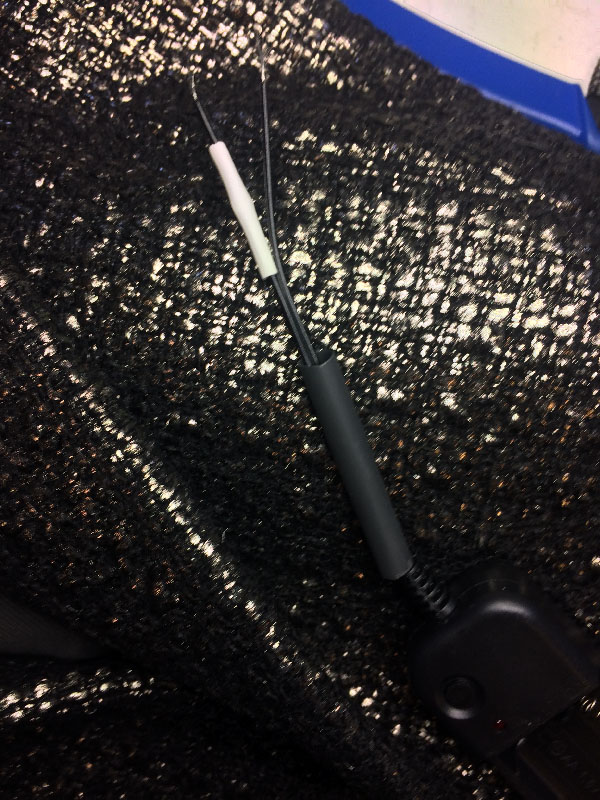
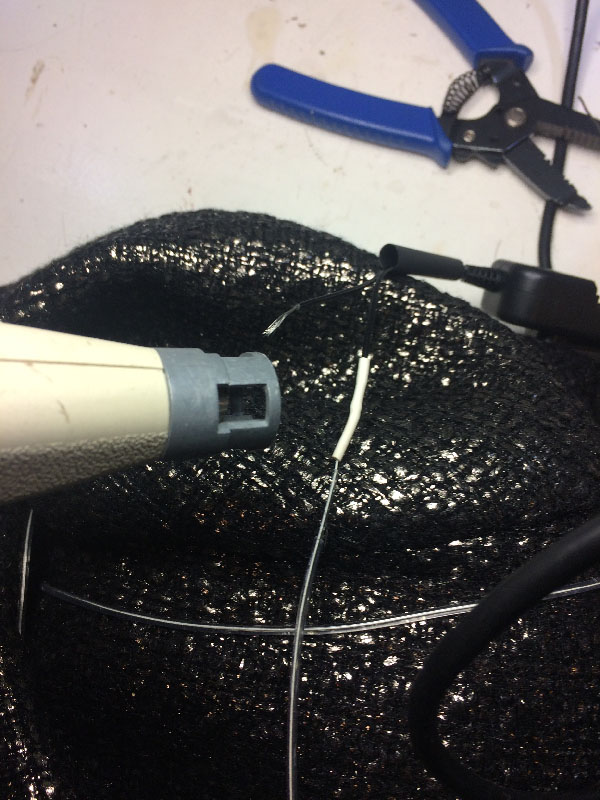
Step 4: adding heat-shrink tube
Add the heat-shrink tube so the wires cannot touch each other when soldered.
Step 5: attaching the battery pack
Connect the wires by soldering them. It doesn’t matter which wires you connect as long as they do not touch each other.
 Shrink the heat-shrink tube.
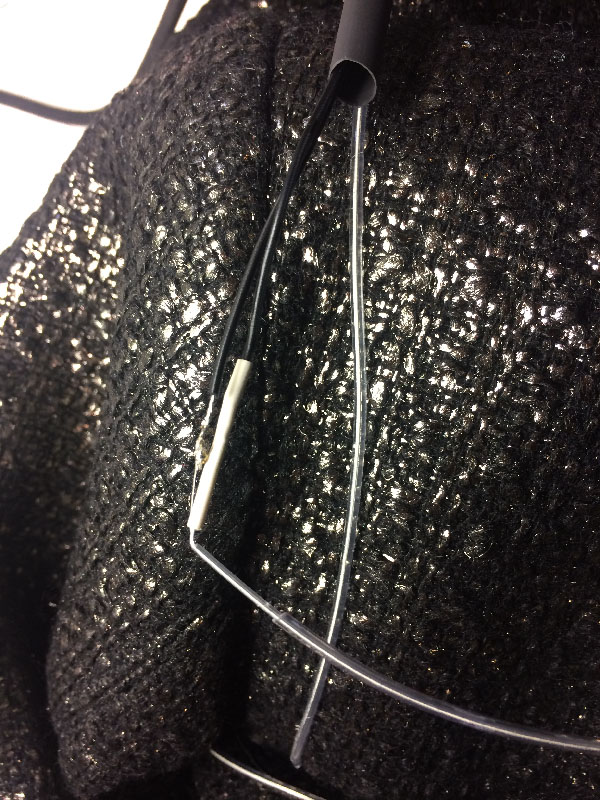
Step 5: testing again
So this is where I am stuck now as after soldering the wire suddenly did not work anymore and I have no clue why. TO BE CONTINUED