3D Printing experiments on fabric
Steganography is the practice of concealing a file, message, image, or video within another file, message, image, or video. The advantage of steganography over cryptography alone is that the intended secret message does not attract attention to itself as an object of scrutiny. Plainly visible encrypted messages, no matter how unbreakable they are, arouse interest and may in themselves be incriminating in countries in which encryption is illegal. source
Secret dot
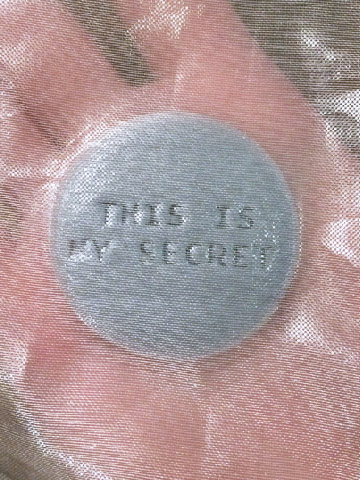
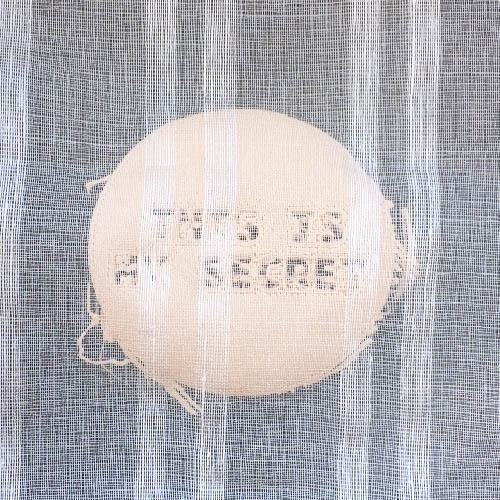
For these experiments I am using the Prusa MK3S (nozzle 215°C, bed 60°C if not specified otherwise). The test object I made was a three-dimensional dot with a message on the bottom (made in Fusion360). When printed on top of fabric, the idea is that the message is legible from the inside of the fabric, even on fabric that is not (fully) see-through.
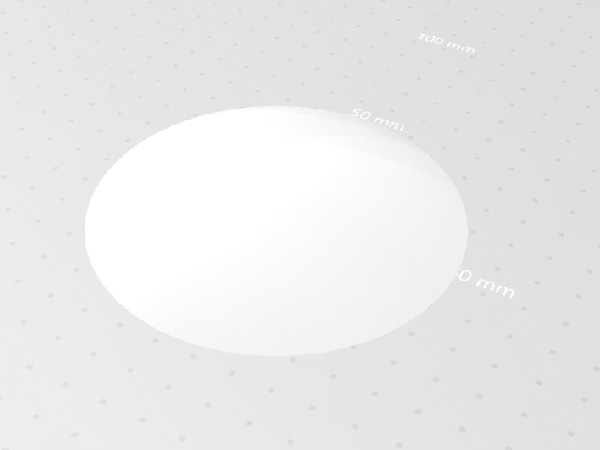

The first try wasn’t succesful as the print wouldn’t stick to the fabric, I think because the fabric is too smooth. The fabric was also not properly adhered to the print bed, so that the nozzle pulled the fabric underneath, causing it to loosen.
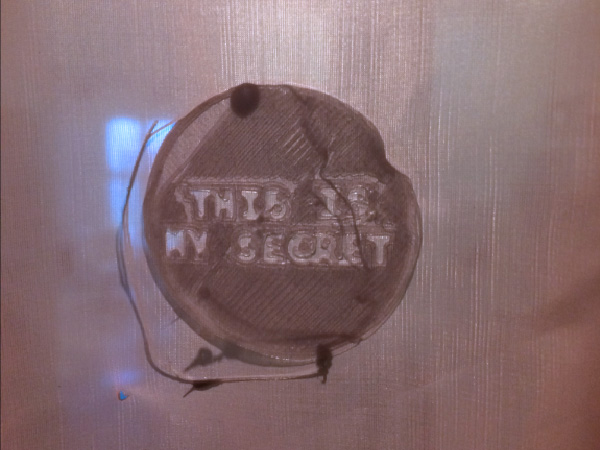
For the second try I used a see-through fabric that was a bit rougher than the first. This one worked very well. I increased the bed temperature to improve adhesion to the fabric.
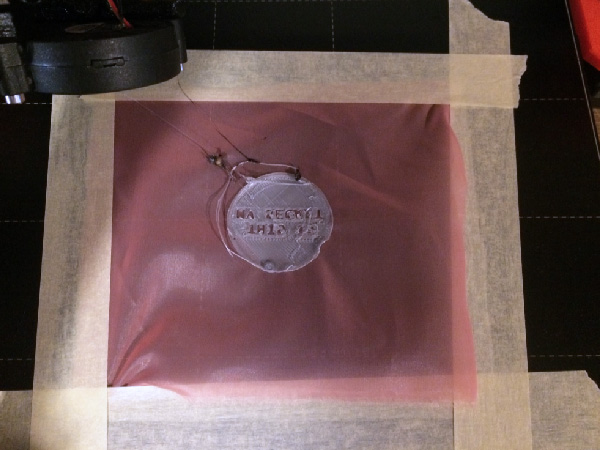
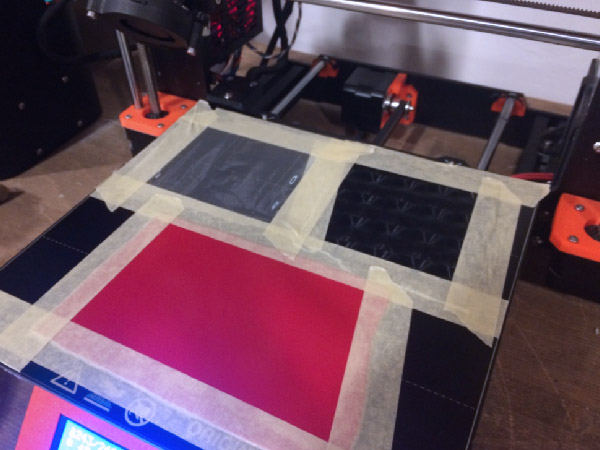
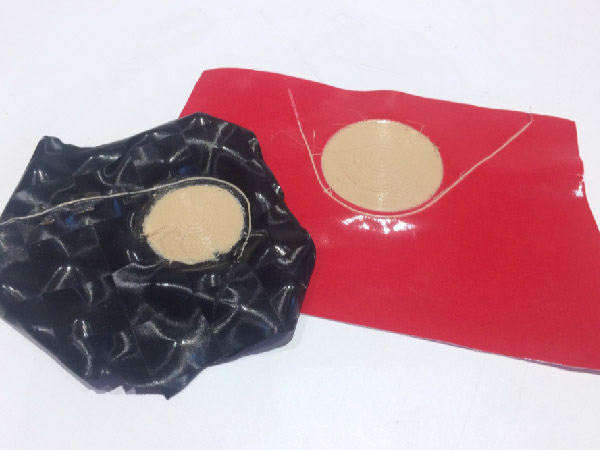
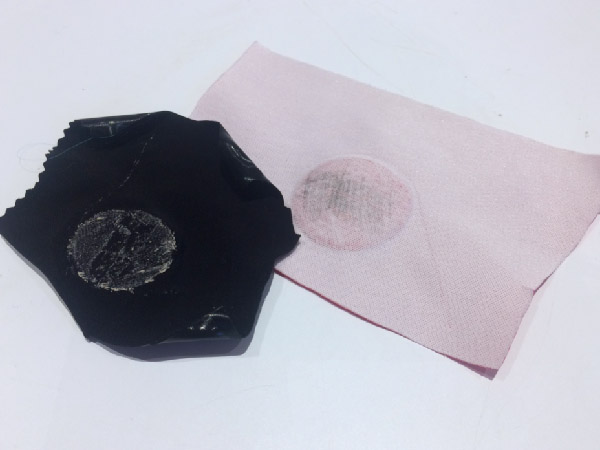
Since I wanted to speed up the experiments I tried printing on multiple fabrics at once but that was a bit messy because of the height differences and because there was too much tape that got loose because of the nozzle bumping into it. The messages were also not legible on the red fabric because it was too thick to show the outlines of the text, and not see-through at all. I tried making it visible with a pencil but that didn’t On the black fabric nothing could be read either since there was no contrast and this technique on opaque fabrics depends on subtle height differences causing a bit of a shadow effect. On translucent fabric it works wonderfully however.
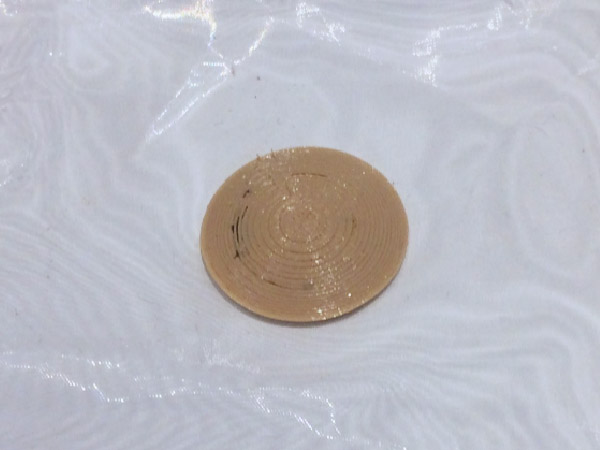
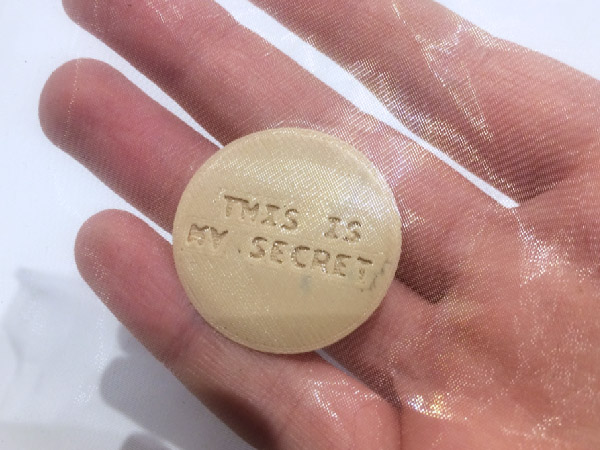
I also tried nonplanar slicing on the Tevo Taratula. I used 0% infill which is probably why it looks a bit hollow at the top (should have been flat as that is one of the annoying bits/bugs of the nonplanar slicing plugin at the moment). I think the filament is also too old to produce nice results with.
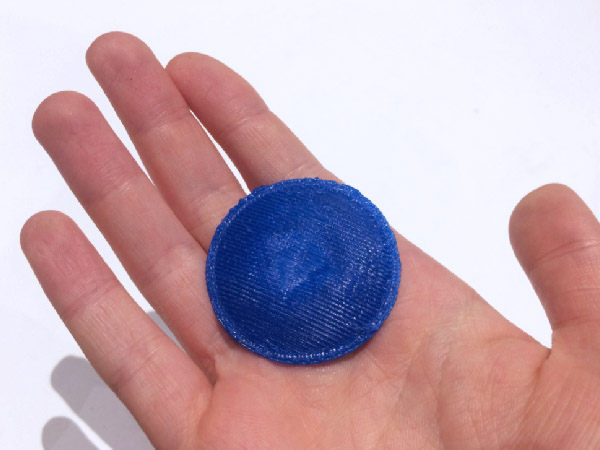
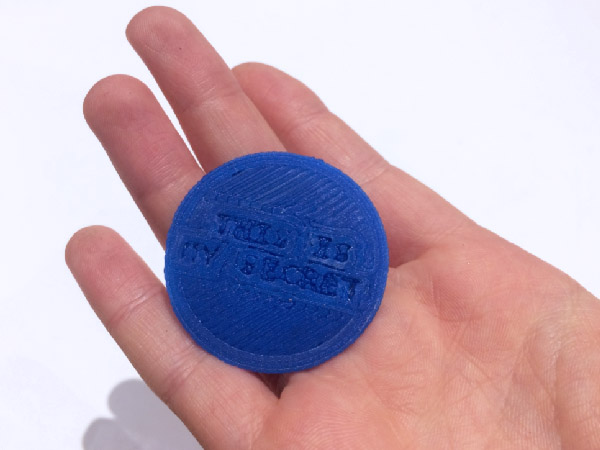
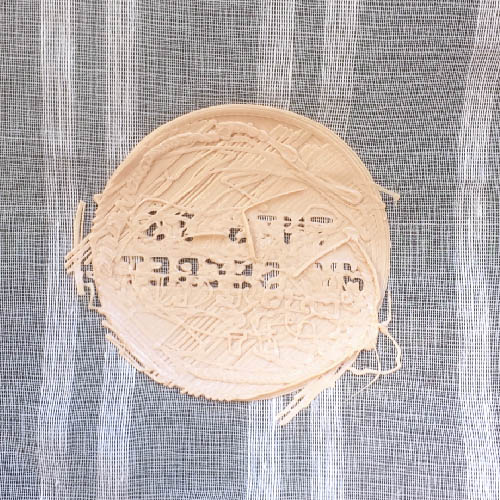
The test below was done on the Prusa. The fabric got loose when I wasn’t looking, resulting in the printer to freestyle the file on a moving fabric. I actually really liked this manifestation of ‘the ghost in the machine’.
Secret symbol
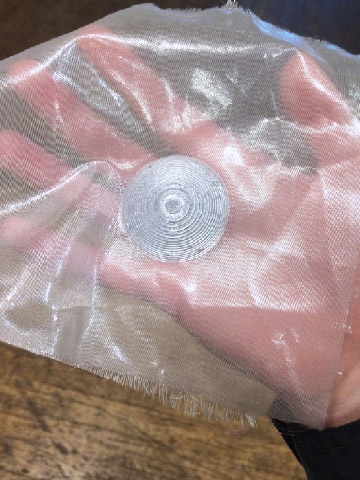
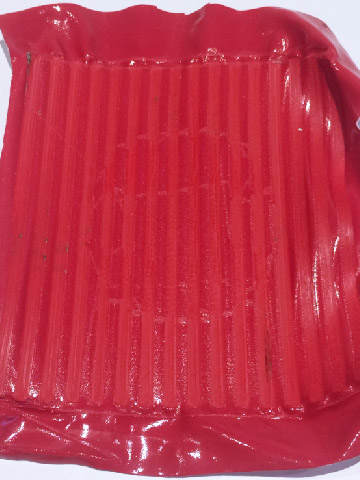
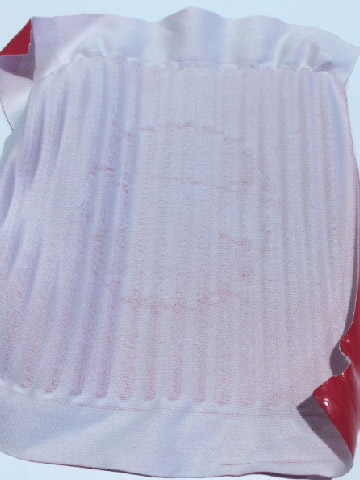
Following the same principle of hiding something by extruding an image inward, I made stripes with a symbol hidden in them. I printed it without support so it wouldn’t attach fully to the fabric.
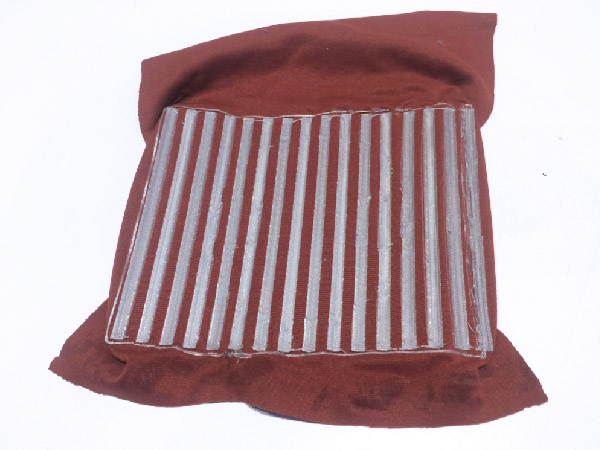
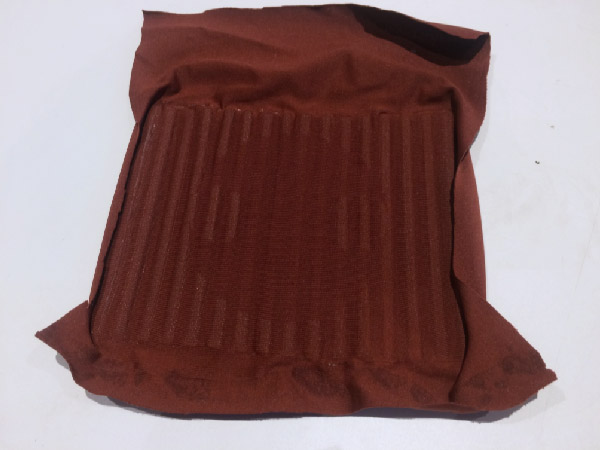
For the second try I used Cura to slice the model instead of Prusaslicer because Prusaslicer did not allow me to only generate support underneath the print. This one didn’t work as well as the previous one because the nozzle left a mark on the fabric while traveling during the first layer, revealing the outlines of the symbol.
Conclusion
- When printing on fabric it works best to set the bed temperature about 10°C higher than usual to improve adhesion to the fabric
- Use double sided tape or spray glue to make sure the fabric doesn’t move around while printing (important: only use spray glue on a glass bed, not on the Prusa bed!)
- Only print on one kind of fabric at once